How to take a deposit and partial payments with Stripe on PrestaShop
A customer hesitates over a large order: a deposit at checkout and the balance later, or equal instalments collected by Stripe, change the decision. Here are the rules, the steps and what happens when a payment fails or when the licence expires.
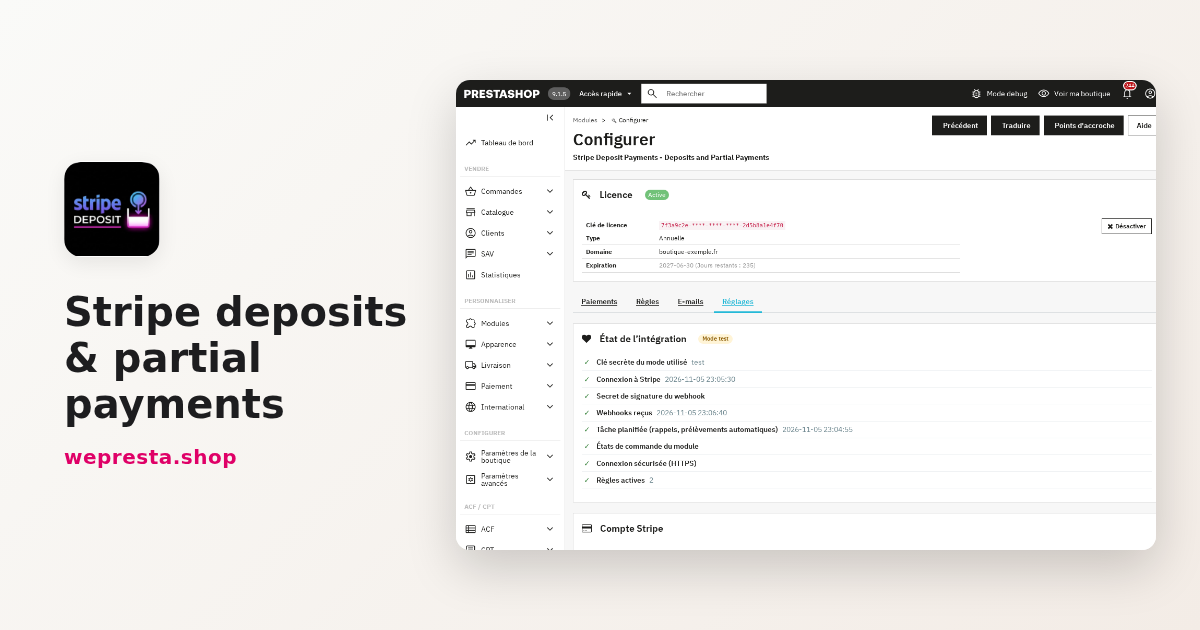
A customer looks at a made-to-measure table, a pre-order or a trip, then closes the page: paying the whole amount today is too much. Stripe deposits and partial payments lets them pay part of the order now, then the balance or equal instalments, collected on your own Stripe account. You will see when the plan helps, how to set it up in the back office, and what happens when a charge fails or when the licence runs out.
How do deposits and payment instalments work?
A deposit is a share of the price paid with the order, the rest being due later; an instalment plan splits the same amount into equal payments, with no interest and no fees.
In the module, each rule picks one of the two formulas. The deposit is set as a percentage of the price, for example 30 %, or as a fixed amount per unit. The balance becomes due in one of three ways.
- A number of days after the order, for example 30 days.
- On a fixed date, useful for a pre-order with a known delivery date.
- When the order reaches a chosen state, for example “Ready to ship”.
A rule can also offer 2 to 12 equal payments, spaced by a number of days or months. The first is paid with the order and absorbs the rounding difference so the total is exact. The plan appears on the product page, then in the cart with shipping, in your store’s price and date formats. The module page shows the result.
Why offer partial payments on a PrestaShop store?
Because a large cart closes more easily when the customer does not have to pay the whole sum on the same day, and because the money stays on your Stripe account, with no credit intermediary.
The module is aimed at expensive products, made-to-measure work, pre-orders, travel and services. The customer sees the plan before ordering, gets a schedule in their account and e-mails at each step. You follow the amounts left to collect and the late ones from a single page.
A concrete case. A workshop sells made-to-measure tables. Its rule asks for a 30 % deposit with the order, with the balance due when the order reaches the “Ready to ship” state. The wood is ordered with the deposit, then the balance is charged to the saved card when the workshop changes the state, with no manual reminder. If the card is refused, the customer receives a payment link and the module retries the charge after the delay set in the settings.
Who is the module for, and who is it not for?
It is meant for a merchant who already sells through Stripe, with HTTPS and a scheduled task; it does not suit a store without a Stripe account or one looking for a credit product.
The module involves no credit institution: you grant the schedule yourself, collected on your Stripe account. It never refunds a payment on its own: a refund is decided in Stripe or from the schedule screen. It does not replace PayPal or a direct debit mandate managed by your bank; to collect on a SumUp account, SumUp payments is a separate module. Without a scheduled task, no reminder is sent and no automatic charge runs. For a customer credit line with a limit, look at B2B payment terms instead.
Legal point. A deferred payment may fall under consumer credit rules, depending on its length and your country. In the European Union, from 20 November 2026, Directive (EU) 2023/2225 governs this deferred payment. It exempts a payment without interest or fees granted by the seller only when it is settled within 50 days of delivery, or within 14 days if your company is not an SME. By default, the module refuses schedules whose last payment falls more than 50 days after the order. Change that duration only after checking the law that applies to your store.
How do I install the module and connect Stripe?
Install the ZIP from the Module Manager, activate the licence, then enter the Stripe test key, the webhook and the scheduled task before creating your first rule.
- In the back office, open Modules > Module Manager, click Upload a module and select the ZIP file. PrestaShop installs the module and its order states.
- Click Configure, enter the License Key and the License Secret, then click Activate License.
- In Settings > Stripe account, choose Test mode, paste your test secret key and click Test the connection.
- In Stripe, open Developers > Webhooks > Add an endpoint, paste the address copied from the settings, select the nine listed events, then paste the signing secret in the settings.
- Copy the Scheduled task address and call it every hour, or at least once a day, from your server or hosting cron.
- Place an order with the test card 4242 4242 4242 4242, then open its schedule in Payments. Only then switch to Live mode with your live key and a live-mode webhook with its own secret.
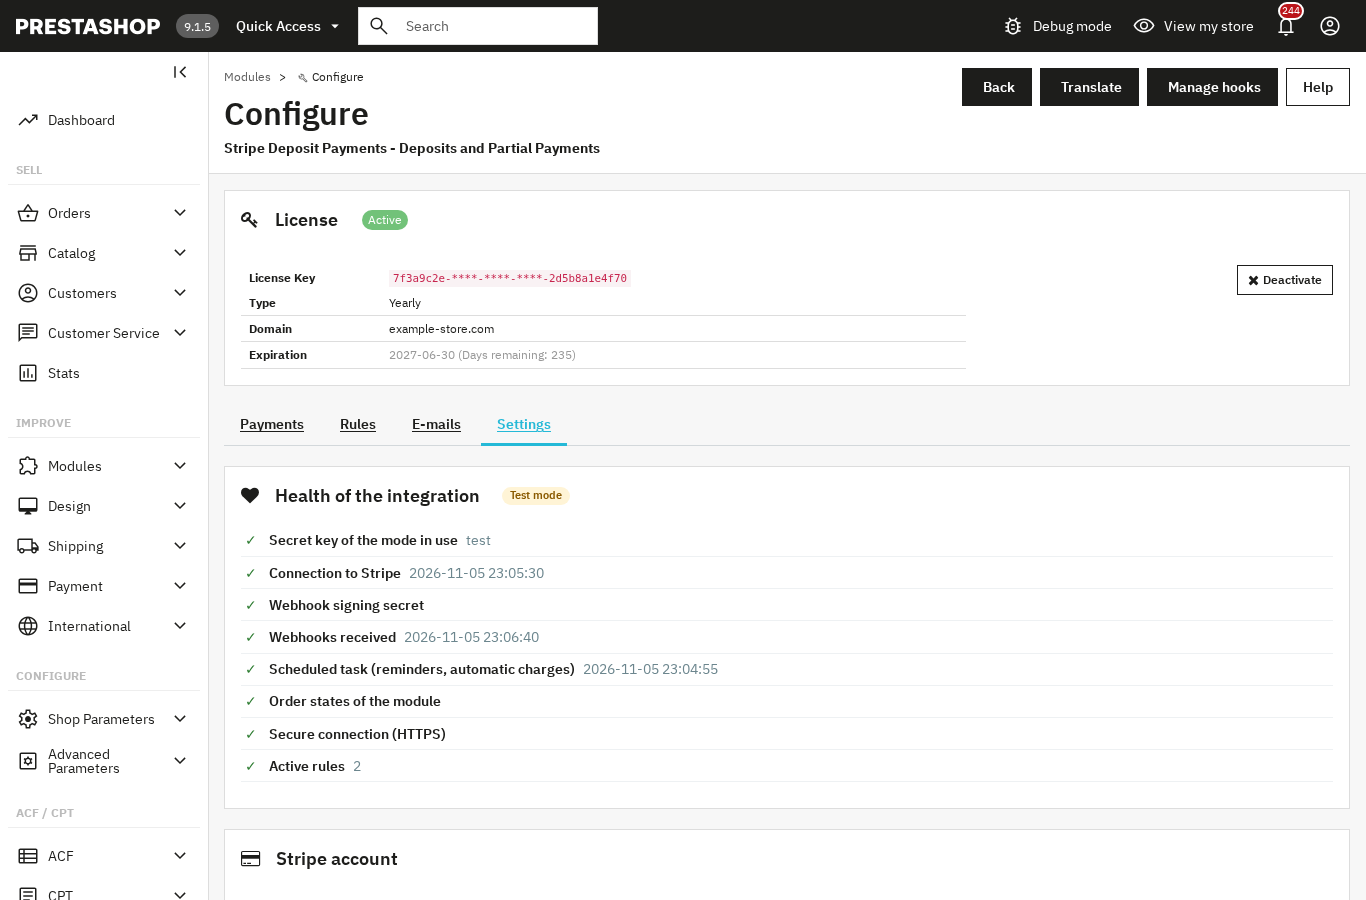
The Health of the integration panel, at the top of the settings, checks the key of the mode in use, the Stripe connection, the webhook secret, the webhooks received, the last run of the scheduled task, the order states, HTTPS and the active rules. The module pages then open from the Deposits & payment plans menu, with the Payments, Rules, E-mails and Settings tabs.
How do I set up a deposit or instalment rule?
A rule combines the target products, the formula, the collection method, the proposal shown to the customer and the accepted order amounts.
- Products: the whole store, some categories or some products, with exclusions.
- Formula: deposit then balance, or equal payments.
- Collection: automatic charge of the saved card or SEPA mandate, or a payment link sent before each due date.
- Proposal: the customer can also pay the whole order at once, or the plan is the only way to pay with this module.
- Order amount minimum and maximum, and priority when several rules cover the same product.
The form shows an example of the amounts before saving. Start with a narrow rule, on one category or a few products, and check the result on the product page and at the payment step. The module pages and their settings are described in the documentation.
How do I follow payments and recover a failed one?
The Payments page shows what is left to collect, late amounts and the automatic charges of the next seven days; a refused charge sends the customer a payment link and schedules a retry.
The list filters by order, customer, formula, status or date, and exports to CSV. A schedule screen shows each payment with its due date, amount and status. It lets you charge now, send the payment link, move the due date, record a payment received outside Stripe, refund, send the schedule to the customer or stop it. The history keeps the payments, the e-mails and every action.
The scheduled task sends a reminder before each due date, then late notices spaced out and limited in number. It also applies the module order states: “Partially paid – payments scheduled”, “Fully paid (payment schedule)”, “Payment overdue” and “Payment being confirmed (Stripe)”. You receive an alert for payments to check, disputes and refused charges, with a daily summary of late payments.
What happens if the licence expires or is no longer valid?
The module switches itself off completely: deposits and schedules are no longer offered at checkout, automatic charges, payment links, reminders and module pages stop, and your rules, schedules, payment history and settings are kept.
That complete cutoff is the behaviour of version 2.0.1; earlier versions kept automatic charges and payment links running without a valid licence.
The configuration page stays available with the licence form. As soon as the licence is valid, it switches the module back on. Stripe notifications are not received while the module is disabled: Stripe retries them for three days, then stops and may disable the endpoint. Check the webhook in your Stripe dashboard after a reactivation.
A paid licence is not switched off because of a transient answer from the licence server. A passed end date is checked again before concluding, and an error, a rate limit, a clock skew or an unreachable server keep the licence valid for seven days from the first failure.
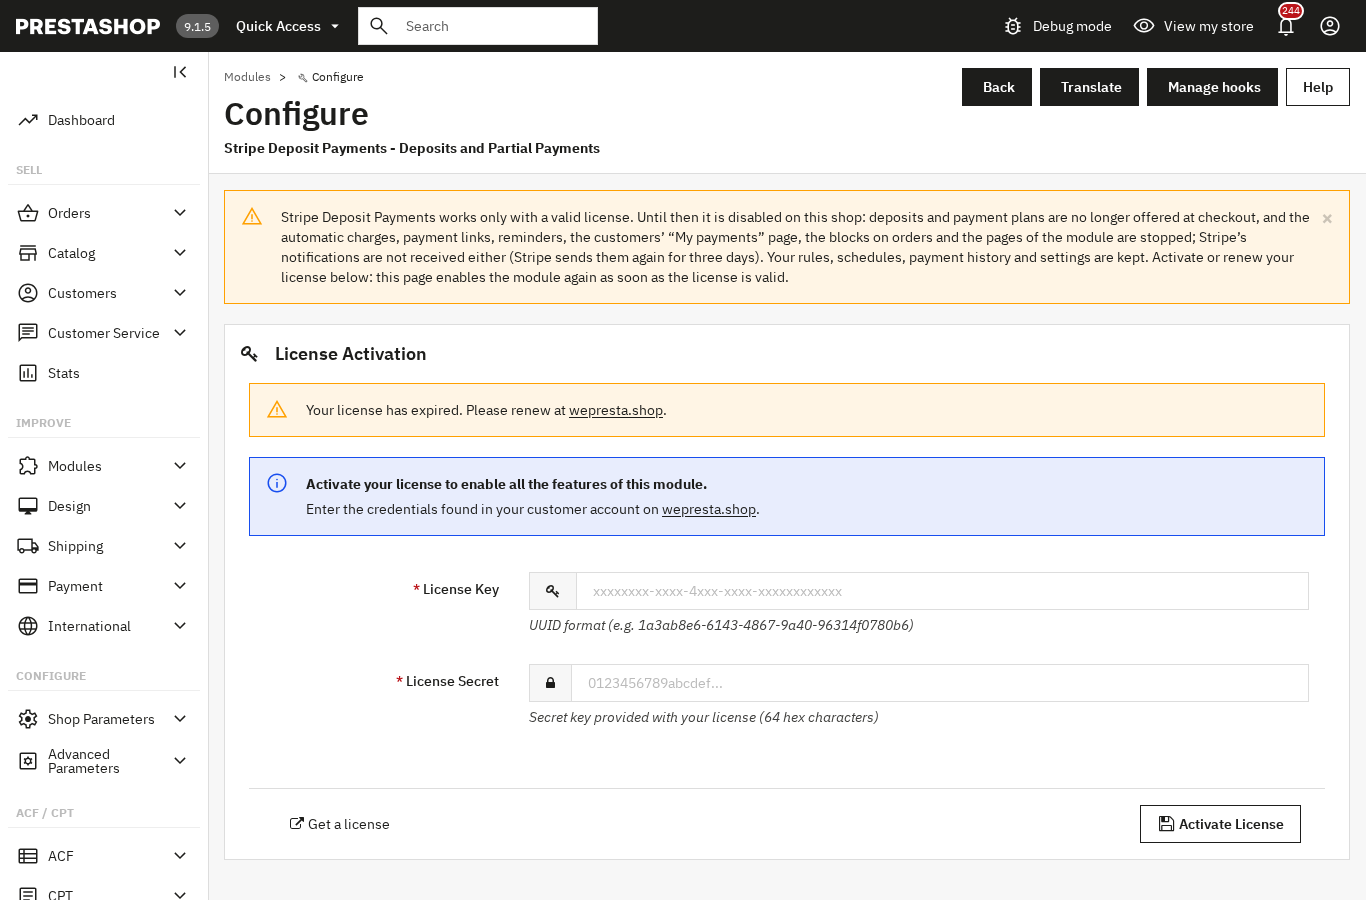
On reactivation, the schedules are brought in line with the orders changed meanwhile. A cancelled order stops its charges, an order moved to a paid state is closed, a changed amount recomputes the remaining payments. Payments that fell due during the stop are charged or requested at the next run of the scheduled task, once each. Reminders resume at their next slot, without a burst.
Frequently asked questions
Why did my deposit options disappear from the payment page?
What happens to payments in progress if my licence expires?
How do I set a deposit and a balance on a precise date?
How do I recover a refused charge?
What is the difference between a deposit and an instalment plan?
Products in this article

Stripe deposits & partial payments
Deposits and partial payments via Stripe, or payment in instalments without fees Automatic balance recovery on...

B2B Net Terms: credit limits, receivables & payment reminders
Payment terms per customer, per group or by default: due on receipt, net 15/30/45/60/90, end of month Credit...
SumUp Payments: card payments on your shop or on the SumUp page
Card payments paid into your own SumUp account, with no added commission SumUp form on your shop or SumUp...
Read also
PrestaShop full page cache: when it helps and how to set it up
Cache Pro stores your PrestaShop pages and serves them before PrestaShop rebuilds them. Settings, carts, purges, pre-load and the 2.0.1 license change.
How to run a WCAG 2.1 AA accessibility audit on PrestaShop
Which pages fail, what to fix, what needs a manual check and what your accessibility statement must contain: the EAA process in PrestaShop, with its limits.
How to show conditional messages on PrestaShop product pages
One rule shows the right message, badge or button on the pages it targets, then removes it when the condition changes. Setup steps, a concrete case and limits.