Picking lists in PrestaShop: prepare orders without errors
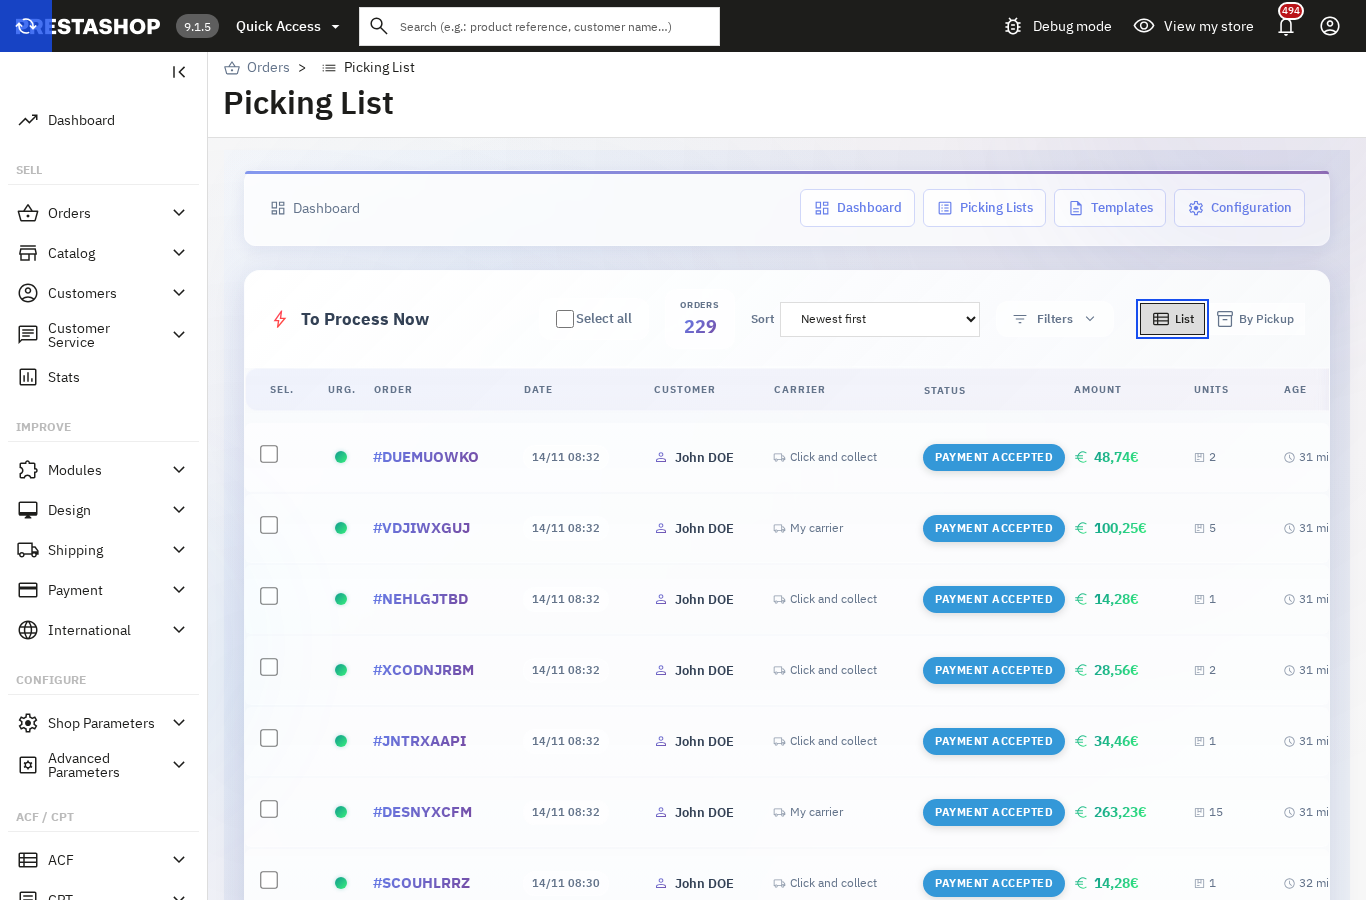
A preparation station in the PrestaShop back office: a dashboard of orders to process, picking lists sorted by stock location, a PDF with product images and an optional barcode scan.
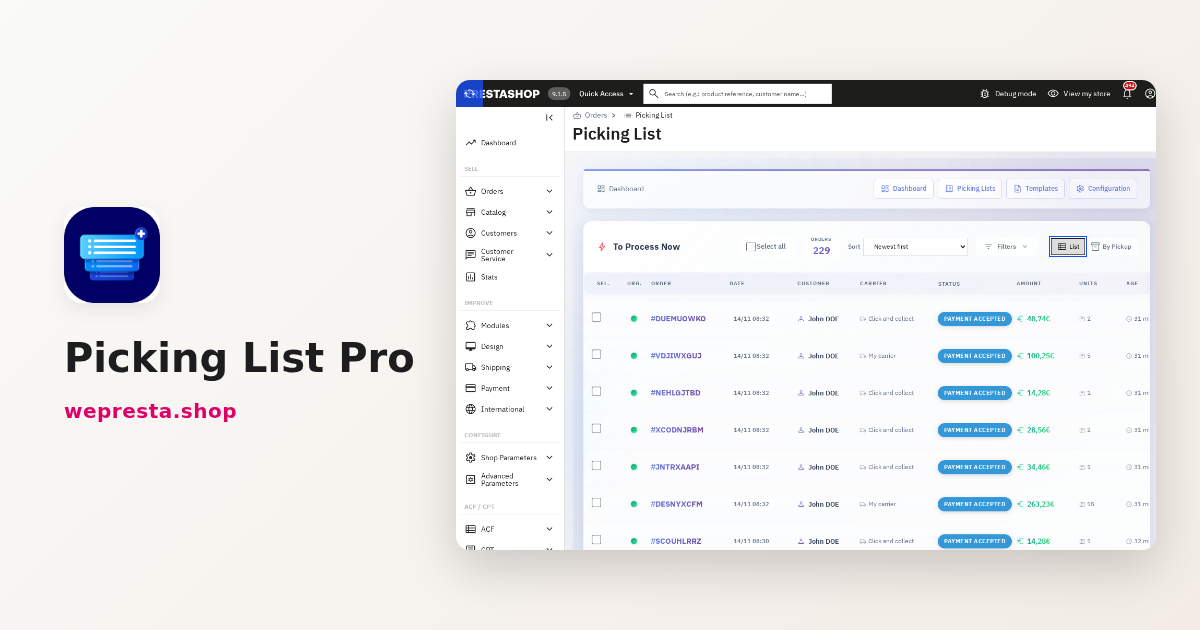
You pack your own parcels, and every morning someone copies order references onto a sheet before walking the aisles. Mistakes show up at the carton: a missing item, a doubled quantity, a return to handle. Picking List Pro adds a preparation station to the PrestaShop back office, with a dashboard of orders to process, picking lists sorted by stock location and a printable PDF.
Who Picking List Pro is for, and who it is not for
The module is for shops that pack their own parcels and prepare several orders on the same day.
It relies on data PrestaShop already holds: order statuses, carriers and the stock location field of each product. You do not keep a second catalogue and you do not reconcile a spreadsheet.
It helps as soon as one person handles order after order and loses track of what is left to pick. A shop shipping a few parcels a week, with one product per order, gains nothing from it: paper is enough.
It is also a poor fit for a shop already running warehouse management software that drives trolleys and handheld terminals. The module works in the PrestaShop back office and prints preparation sheets; it does not drive equipment.
One scope point: the orders handled are the PrestaShop shop's orders. An order placed on a marketplace and entered elsewhere does not appear on the dashboard.
The module page and its documentation repeat the settings described here.
How to install and set up the module in five steps
Install the archive from Modules > Module Manager, open Configure, then set the order statuses read, the PDF template and the carriers' pickup times.
- In Modules > Module Manager, click Upload a module and choose the ZIP file. Installation creates the tables, the settings and a Standard PDF template.
- Click Configure to open the settings page. The Orders > Picking List menu, added by the module, opens the dashboard.
- Open Configuration > General. Check the Reference prefix (PL- by default), the Default template, the Orders to display and the Completed Picking List Order Status.
- Set the product sort in the same tab: the Sorting enabled switch and the Fallback sorting selector. Sorting puts products in your location order and reverses direction from one aisle to the next.
- Declare pickups in Configuration > Carriers. Enable a carrier, then add one or more Pickup Time Slots per day, with the time and, if needed, a Min preparation (min) value. Exception Days are ignored by the countdown.
The columns of the To Process Now table are chosen in Configuration > Custom Dashboard, and the choice applies to every employee.
If orders do not appear, check the Orders to display setting first: only ticked statuses are read, and Payment accepted is the only one ticked at the start.
How do I reduce picking errors without hiring?
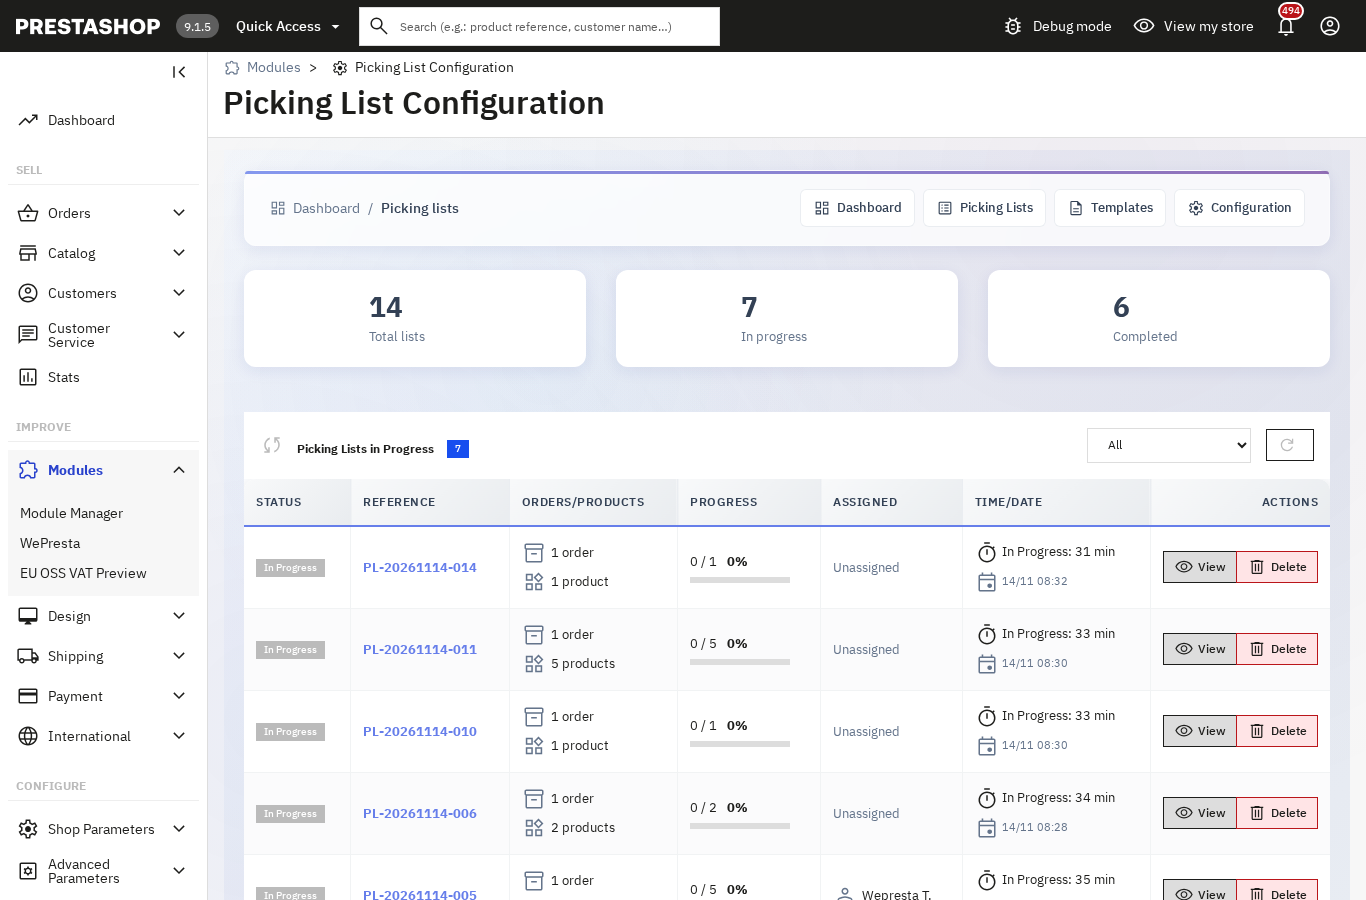
Check each unit as it leaves the shelf: the list then shows what is left to pick, and the picker sees progress without counting lines.
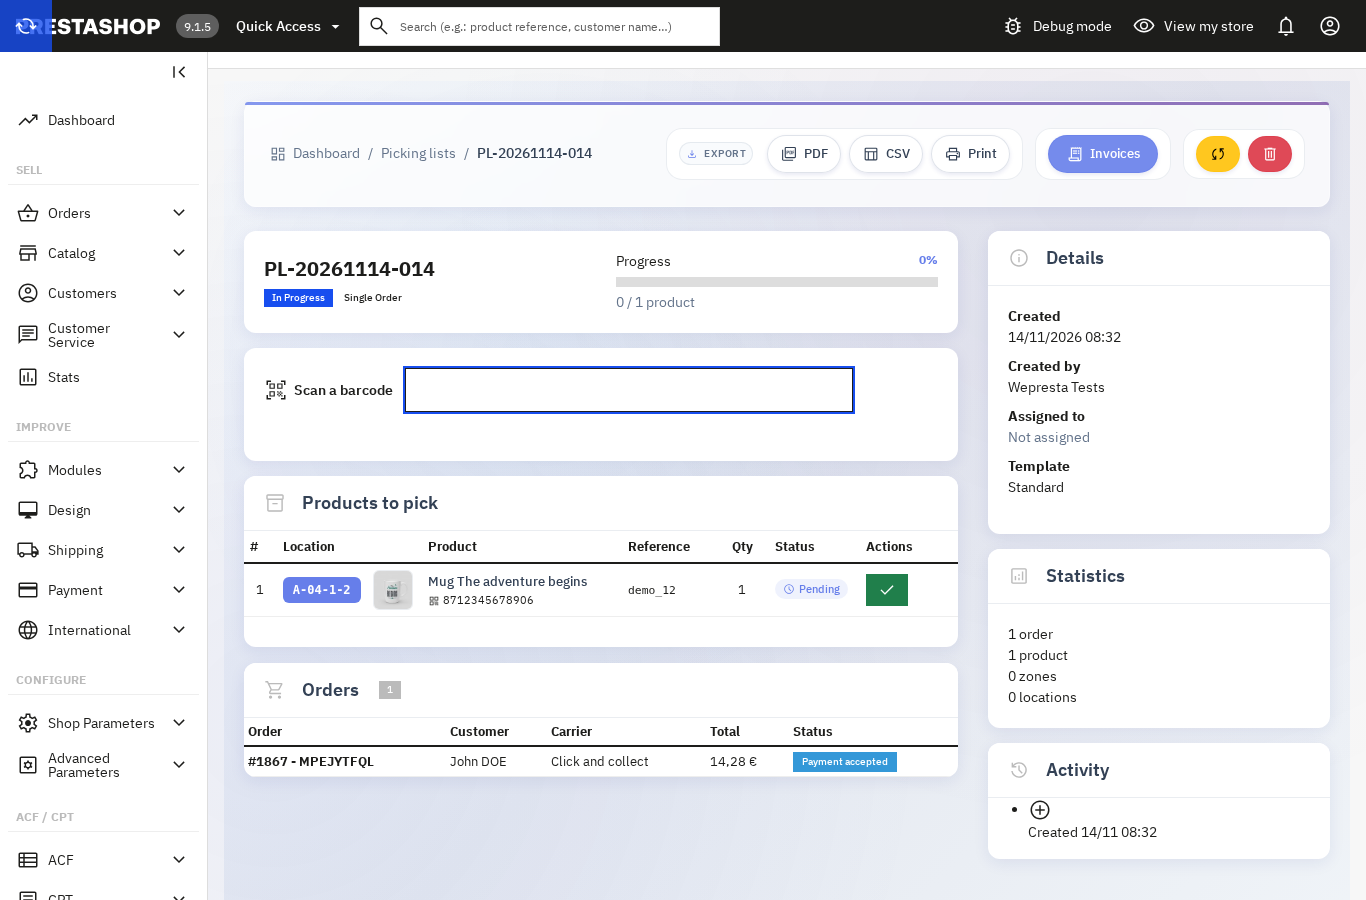
The list view shows the progress bar, the product count and the order details. Every checked product updates the list. Undo puts a wrongly checked product back to pending, without deleting the line.
Products are sorted by stock location, the field you already fill on the PrestaShop product page. Products without a location come last and follow the Fallback sort: reference, name or ID.
Each check records the signed-in employee and the time in the database.
An optional barcode scan adds a second check at pick time. It is described below and stays off by default.
How do I group several orders on one list?
Tick the orders in To Process Now, then click Create a picking list with the selected orders.
The creation window offers the Template, the Assign to field (or Do not assign) and the Generate PDF after creation box, ticked by default. For a single order, the + Picklist button on the row creates the list with the default template and opens it.
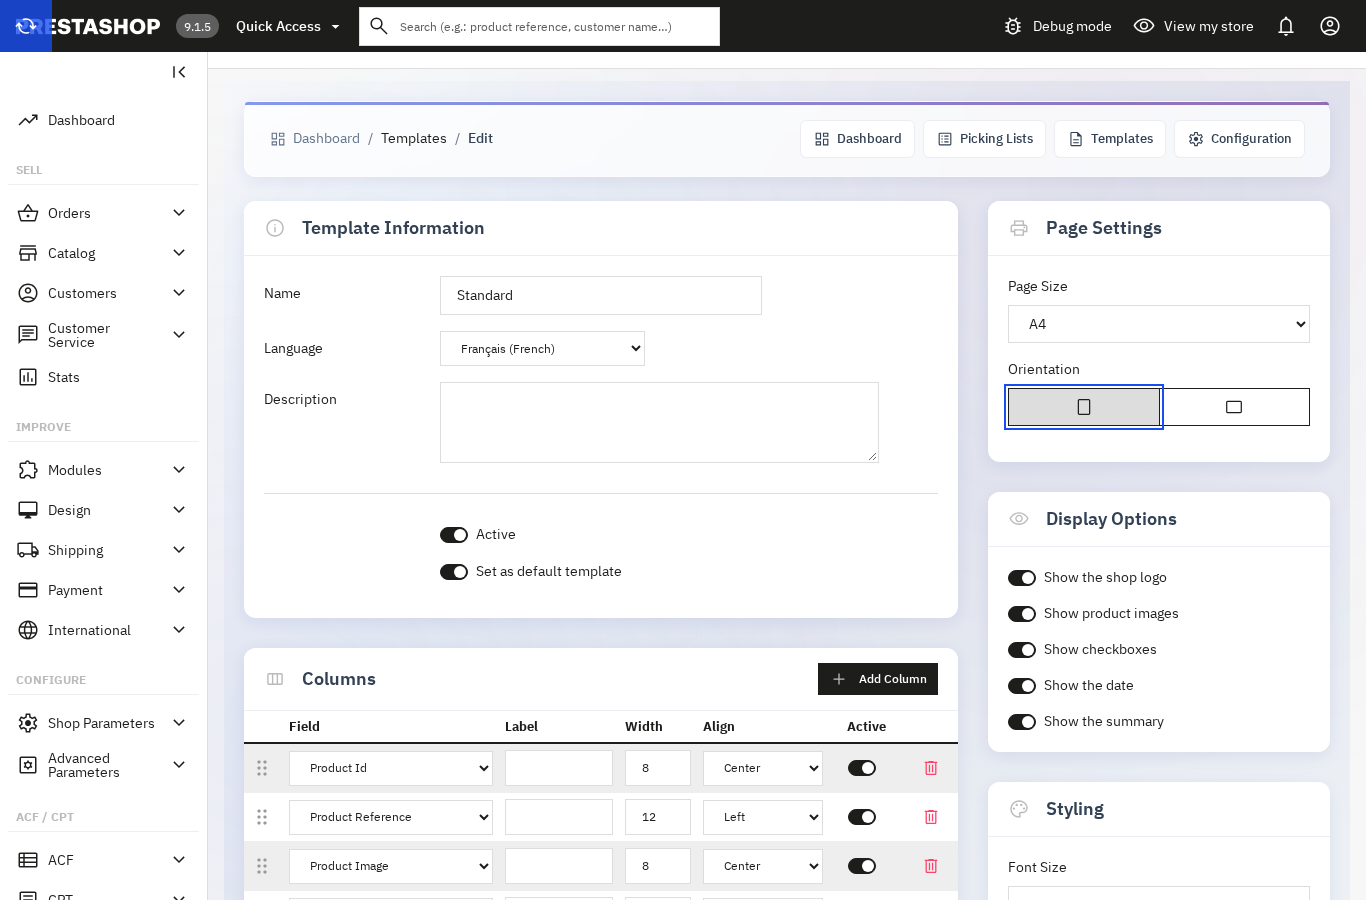
The list gathers the lines of every selected order. Its PDF shows the products to pick first, then, on a second page, the orders with their item count.
The Standard template prints the Product ID, the reference, the image, the product name with its combination, the location and the requested quantity. The orders table lists the reference, the customer, the delivery address, the carrier and the item count. A completed list stays readable with its PDF, its CSV export, its printable view and its Invoices button.
A common case: three carriers call in the morning. In By Pickup, take the shortest countdown, select its orders and create a list. The picker follows the sheet from one aisle to the next and finishes before the van. You repeat the same steps for the next carrier, with its own orders.
Do I need a barcode scanner to use picking lists?
No. Manual checking is the base method, and scanning is a setting that is off at installation.
To turn it on, open Configuration > General and tick Barcode scanning. The list view then shows the Scan a barcode field above the products, with the cursor already in it.
A USB or Bluetooth scanner that behaves like a keyboard is enough: it types the code and presses Enter, with no driver or app to install. Each scan of an EAN-13 or UPC checks one unit of the matching product, in picking order. Scanning the same code again checks the next unit.
A code absent from the list is reported and nothing changes. A product already fully picked is reported as such. When every unit is checked, the list completes; if a status is set in Completed Picking List Order Status, the orders move to it.
Manual checking stays available for a damaged label or a scanner out of reach.
How do I know which orders to prepare first?
In To Process Now, open the By Pickup view: orders are grouped by carrier, with the pickup time and a countdown to the pickup.
A badge goes from green to orange then red as the deadline approaches. Pickup times are not guessed: you declare them carrier by carrier, day by day, with an optional minimum preparation time.
In List mode, the Sort selector offers Newest first, the default, and Oldest first. The second brings up orders that have waited longest, so a late order is not pushed back by each new one. The choice is remembered in the browser.
Advanced filters narrow the list by order reference, status, carrier, price range or date range. The number of active filters is shown and Clear all removes them in one click.
What the module does not do
The module prepares and prints lists: it does not replace warehouse management software and it does not reserve stock.
Wave picking by carrier or pickup time does not exist. Partial picking with a reason and reassignment does not either. No stock check happens before generation: an order missing an item can enter a list. To plan for shortages, the supplier restock module finds products below their reorder point and prepares the purchase orders.
There are no per-picker performance indicators, no leaderboard and no view of the checks by employee. The module does not generate Code128 barcodes: scanning reads the codes already on your product labels.
Shops on PrestaShop 1.7.5 to 1.7.7 keep the previous version of the module. On very long lists, loading stays line by line and slows down as the product count grows.
Finally, without a valid license, the module's pages lead to the license form. Lists, products, templates and settings stay in the database and come back as soon as the license is restored.
Frequently asked questions
Do I need a barcode scanner to use picking lists?
How do I reduce picking errors in a small shop?
Can I group several orders on a single picking list?
How do I know which orders to prepare first?
Where does the module read the stock location of a product?
Products in this article

Picking List Pro: logistics dashboard + PDF templates
“To Process Now” dashboard: orders to prepare, urgency, carrier and Newest first / Oldest first sorting Picking...
Supplier restocking: reorder points, purchase orders & receiving
Finds products below their reorder point and computes the quantity to order, incoming stock and safety stock...

Shipping Cost by Zip Code — Postal Code Based Shipping Fees
Shipping fees by postal code: unlimited zones, exact codes, ranges and prefixes Rates per carrier by weight or...
Back office 2FA : to secure admin logins
6-digit code from an app (Google Authenticator, Authy, Microsoft Authenticator…) after the password One code per...
Read also
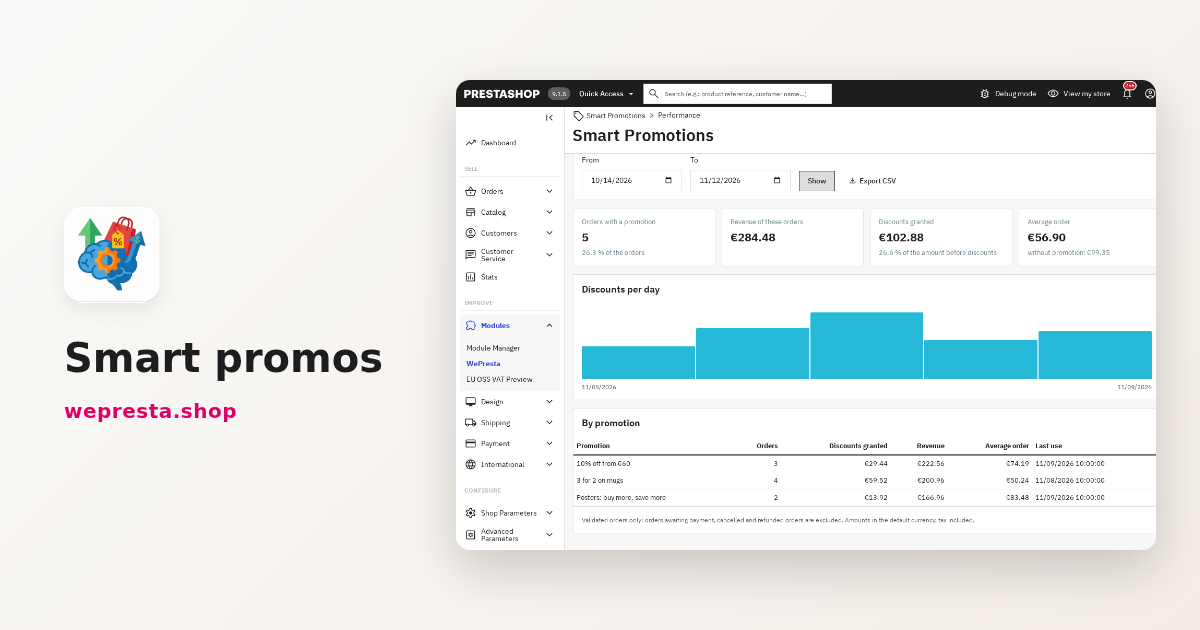
How to set up a 3 for 2 offer and tiered discounts in PrestaShop
Set up a 3-for-2, tiered discounts or a bundle in PrestaShop, find out why an automatic discount is not applied, and read the results per promotion: a practical guide…
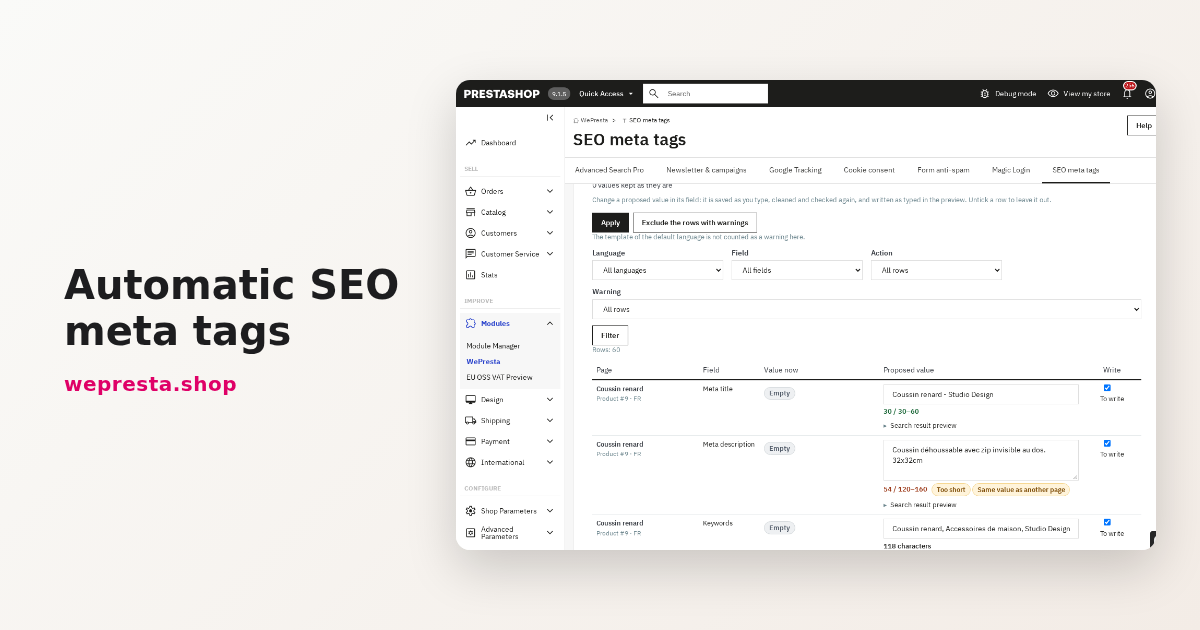
Meta titles and descriptions: fill a whole PrestaShop catalog
A PrestaShop catalog is filled from templates, not one product at a time: preview before writing, three replacement modes, a duplicate audit and undo. Here is how to set…
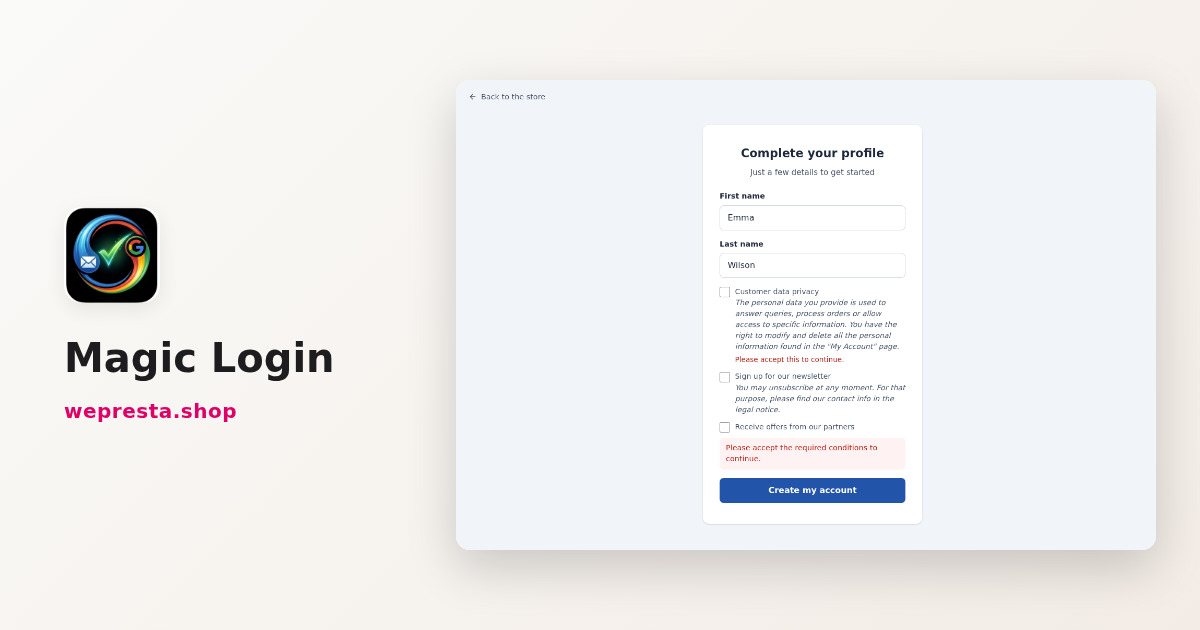
Passwordless login for PrestaShop: email code, link or Google
A forgotten password interrupts an order. Magic Login replaces it with an email code, a one-click link or Google, with per-shop settings and a licence that does not cut…