PrestaShop contact form: route every request by subject
One PrestaShop contact form per subject: conditional fields, routing to the right team, protected attachments, spam limits, GDPR consent and what version 2.0.1 changes for the licence.
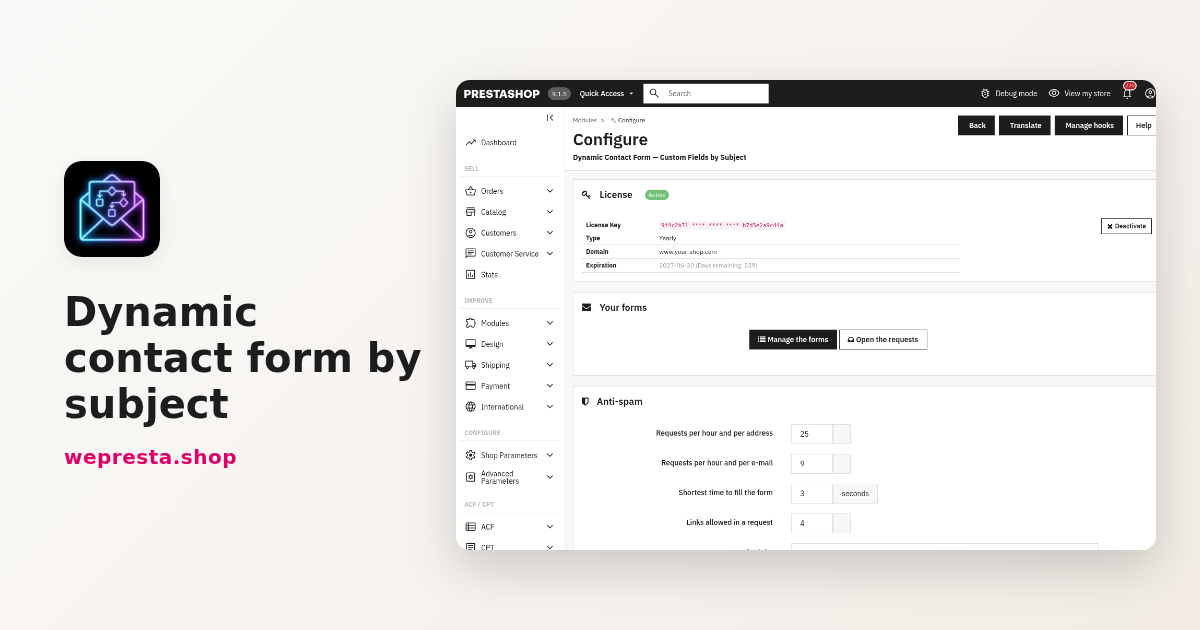
One customer reports a fault, another asks for a quote and a third wants to return an item. They should not all fill in the same form. Dynamic Contact Form replaces the PrestaShop contact form with one form per subject: fields appear according to the answers, the request goes to the right team and stays available in the back office. This guide shows how to set it up, what it does and what it does not do.
What is a dynamic contact form by subject for?
It asks each customer the questions that match their reason for writing, then sends the request to the right team instead of forcing the same fields on everyone.
The native PrestaShop form offers an e-mail, a subject and a message whatever the reason. Your team then writes back to ask for the order number, the quantity or a photo. With one form per subject those questions come at the right moment, and the customer does not have to describe the problem twice. A subject without a form keeps a simple form: e-mail, message and attachment.
The module suits shops that receive several kinds of request: after-sales, returns, quotes, partnerships, delivery questions. It also helps when several people handle the messages, or when part of a form must stay reserved for a customer group.
You do not need it if the shop has a single contact address and a single kind of request: the native form is enough. It does not replace a full support desk or a quoting tool. It requires PrestaShop 1.7.8, 8.0+ or 9.0+ and PHP 7.4; 1.7.7 and earlier are not supported.
The module page details its features: Dynamic Contact Form.
How do you create one form per subject, step by step?
First create the subject in Shop Parameters > Contact > Contacts, then a form for that subject in Modules > Module Manager > Dynamic Contact Form > Configure.
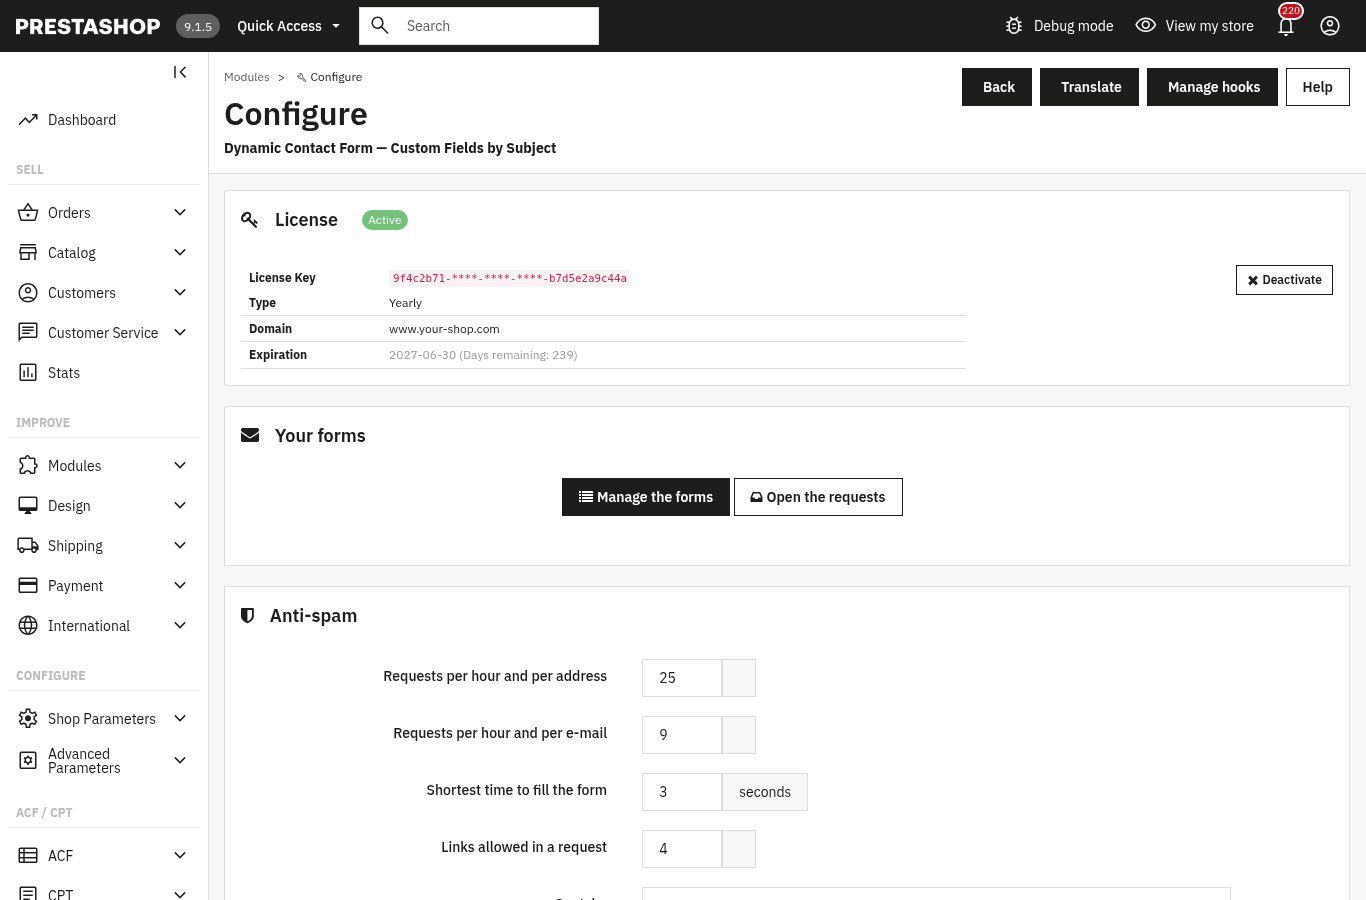
The Configure page leads to Manage the forms and Open the requests. The Forms and Requests pages have three links: Forms, Requests and Settings.
- In Forms, click Add a form and choose its contact subject.
- Leave Active ticked, choose the customer groups if the subject is restricted, and tick Order reference so that logged-in customers can point to their order.
- Turn on Privacy consent and write the consent text if the form must ask for agreement, then save: the Fields panel appears.
- Click Add a field and choose the type among the nine offered (text (one line), text (several lines), drop-down list, radio buttons, tick box, several tick boxes, date, file, information block). Then write the label, placeholder and help text in each language, and tick Required if the answer is needed.
- For a list or checkboxes, add the answers one by one, or paste them one per line with Add these answers.
- For a text field, in Check, choose the expected value: e-mail address, web address, phone number, number or custom regular expression.
- In Condition, choose the field this one depends on and the answers that must make it appear.
The field table writes every condition out in full, for example “Shown if Reason is one of Fault, Return”. A condition depends on one other field and does not combine two levels: a field that depends on another cannot itself be tested by a third. The browser and the server apply the same rules, and a hidden field is neither required nor stored.
Finish with See it on the shop: pick the subject on the contact page and fill in the form as a customer would. The module documentation describes every screen. To keep the form usable by everyone, the EAA accessibility audit analyses your real pages, contrasts included.
How do you route each request to the right department?
Each form goes to the address of its subject, and a route can replace or add to that recipient according to the answer to a list.
The E-mail to your team panel sets the addresses and the subject line. Copy to and Blind copy to add fixed addresses to every request. Subject line accepts variables: {firstname}, {lastname}, {email}, {order_reference}, {reference}, {subject}, {shop_name} and {field:key} for the answer to a field.
In Routes, choose a list field, one or more answers, then the recipients, and decide whether the request goes instead of the subject address or in addition to it. A common example: when the answer to Reason is Return, the request goes to the returns team; when it is Fault, support is copied in.
Test every route before going live: send one request per answer, check the recipient's inbox and open the Requests tab, where the request must be listed with its answers. If a message does not arrive, check the subject address in Shop Parameters > Contact > Contacts and the addresses in the route.
If a quote request must then become an order with a negotiated price, the B2B quote module takes over; the contact page remains the entry point.
How do you accept file attachments without exposing the shop?
Add a File field to the form: you set the accepted types, the maximum size and the number of files, and the files are kept outside the public folder.
The file field works without code. In the field settings you list the accepted extensions, for example pdf, png or jpg. In the Settings tab, the Requests, files and privacy panel sets the maximum size of one file and that of files attached to your team's e-mail.
Files are inspected by content when PHP's fileinfo extension is available; without it, only the file extension is checked. They are renamed at random, stored outside the public folder and downloadable from the request, never opened in the browser. Files larger than the e-mail limit stay in the back office; check the hosting disk space if you accept large files.
How do you slow spam without driving customers away?
The module stacks several barriers before the captcha: limits per hour and per address or e-mail, a minimum filling time, a link limit and an invisible trap field.
These settings are in the Settings tab, Anti-spam panel. The defaults are 10 requests per hour and per address, 5 per hour and per e-mail, 3 seconds of minimum filling time and 3 links per message. Adjust them to your traffic: a limit that is too low turns away a hurried customer, a limit that is too high lets robots through.
A security token comes with every submission, and an invisible trap field stops the simplest robots. You can add Cloudflare Turnstile or Google reCAPTCHA with your own keys; the module then asks what to do when the service cannot be reached: accept the request or refuse it.
The module does not depend on a captcha: limits, minimum time and trap field apply even without one. A developer can use the actionWeprestaDcfSubmitBefore hook to accept or refuse a request under their own rules.
What does the module do for GDPR, and what does it not do?
It collects consent with your own text, keeps its date, lets the official GDPR module export or erase requests, and deletes requests after the delay you set.
Each form can show a consent checkbox with your own text, HTML included, or the one of the official GDPR module when it is active. The consent date is stored with the request. PrestaShop's official GDPR module can export or erase a customer's requests, as it does for the other shop data.
In Settings, the Requests, files and privacy panel lets you keep requests and delete them after a number of days; the value 0 keeps them until you delete them by hand. A CSV export is available per subject and per date range in the Requests tab.
What the module does not do: it does not write your privacy policy, does not choose the legal basis for your processing and does not make your shop compliant on its own. Consent, retention and notices remain your decision, to be checked with your legal adviser. It does not replace the official GDPR module either: it connects to it.
Requests hold personal data: back-office access deserves its own protection. The back-office 2FA module adds a one-time code after the password.
What changes in version 2.0.1 when the licence is no longer valid?
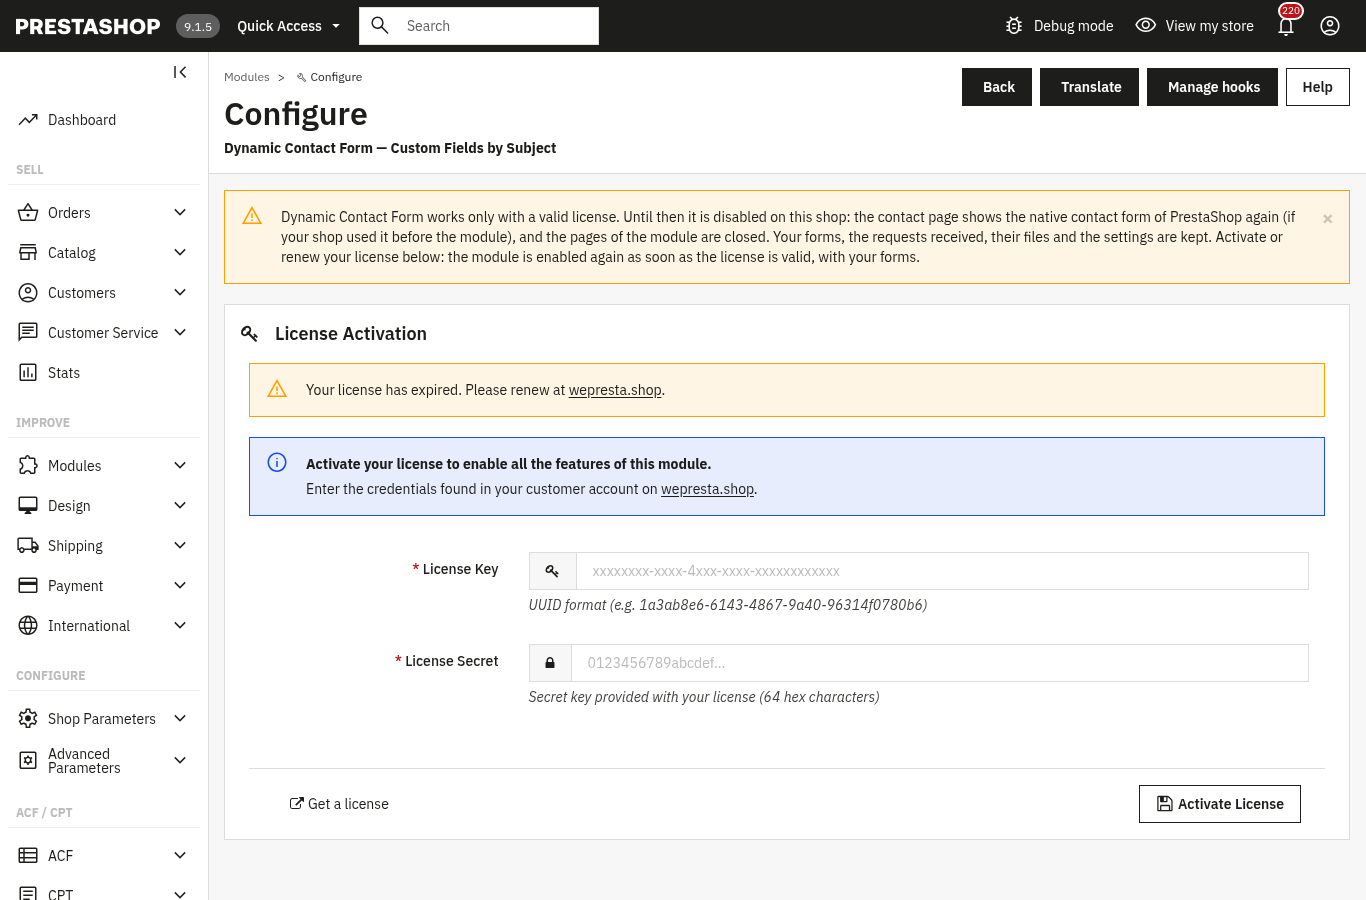
Version 2.0.1 removes the simple form that used to stay without a licence. The module disables itself completely; your forms, requests and settings stay in the database, your files on the server.
In practice, the contact page shows PrestaShop's native contact form again if your shop used it before, and the Forms and Requests pages close, including file downloads. The module menu entry disappears. The Configure page stays open. During that time the official GDPR module no longer receives the module's requests, and their automatic deletion is suspended.
You come back from the Configure page: activate or renew the licence, and the module is enabled again with your forms, in place of the native form.
A paid licence is not cut off by a passing answer. During the seven days after the stored expiry date the module works without contacting the server; beyond that it checks at most once an hour whether the subscription is renewed. An error, a rate limit, a clock skew or an unreachable server does not expire the licence: those incidents are tolerated for seven days from the first one. A definite answer applies at once: expired, suspended or revoked licence, unknown licence, wrong domain or signature. The visit that triggers the check may wait up to three seconds; the next check happens at least one hour later.
In a multistore, activate the licence from the “All shops” view: a licence activated in one shop is not seen by the others, which disable themselves at their first request.
Frequently asked questions
How do I get a request to the after-sales team instead of the general address?
Can I accept file attachments without changing the theme code?
Is the module enough to stop spam when reCAPTCHA does not block everything?
What happens to my forms and requests if the licence expires?
Can a field appear only for certain reasons?
How long are requests kept?
Products in this article

Dynamic contact form by subject
One contact form per subject, with conditional fields that appear according to the answers Advanced validation,...

B2B Quote Requests: negotiate prices and turn them into orders
A “Request a quote” button on the product page and on the cart, with or without a customer account A negotiated...
Back office 2FA : to secure admin logins
6-digit code from an app (Google Authenticator, Authy, Microsoft Authenticator…) after the password One code per...

EAA & WCAG 2.1 AA accessibility audit
WCAG 2.1 AA accessibility analysis of the real pages, contrasts included Safe automatic fixes, switched on one...
Read also
Digital product passport in PrestaShop: public page and QR code
One public page and one QR code per product, with documents, operators and a CSV import for the whole catalog: what the DPP module does, how to set it up and what it…
B2B quotes on PrestaShop: requests, negotiated prices and orders
The full path of a B2B quote in PrestaShop: settings, a proposal with negotiated prices, acceptance, cart and the limits of the module.
PrestaShop back-office 2FA: how to secure admin sign-in
A merchant guide to PrestaShop back-office 2FA: TOTP setup, mandatory profiles, trusted devices, lost-phone recovery and what a licence change does.